For years, I’ve had the same clunky set of wooden dressers in my Amagansett bedroom. I’ve perused yard sales and Craig’s List ads to try to replace them, as it hadn’t occurred to me that I could have a go at customizing them myself. Feeling inspired by summer around the bend and thanks to my handy mentor, Andrew, we carried the largest piece onto my back deck and created a weekend workshop.
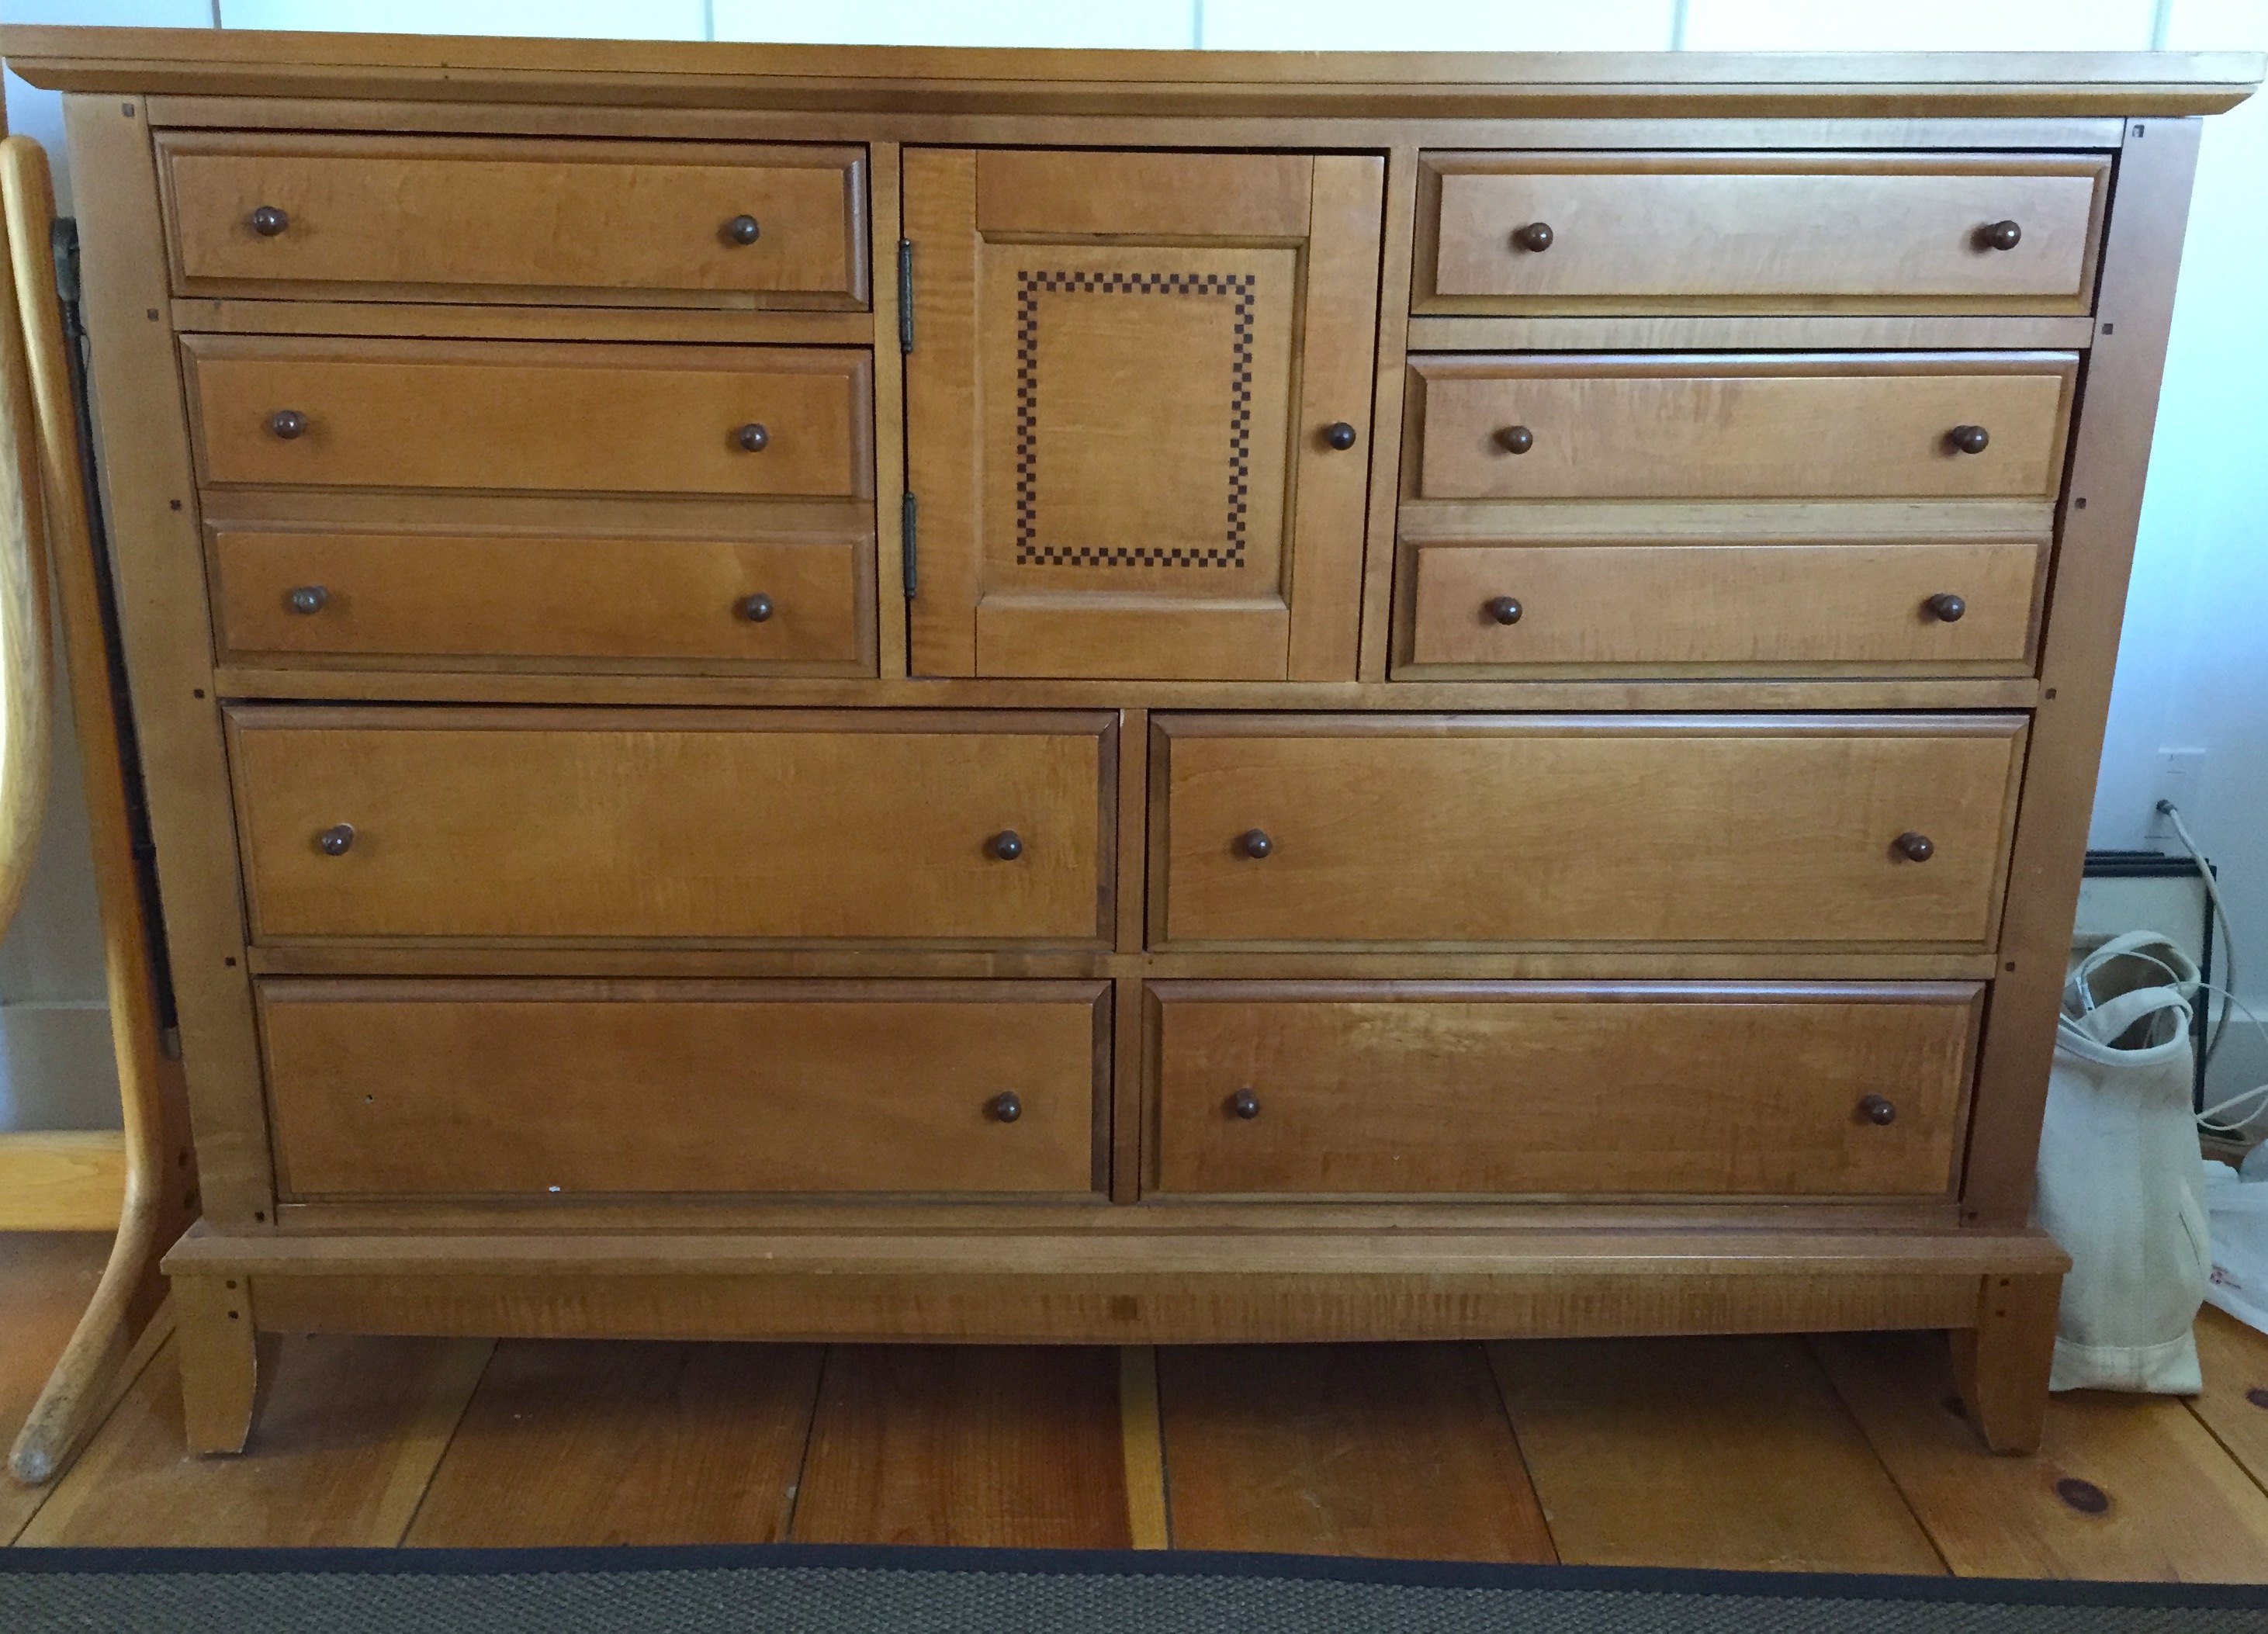
The notorious before picture
Before you get started
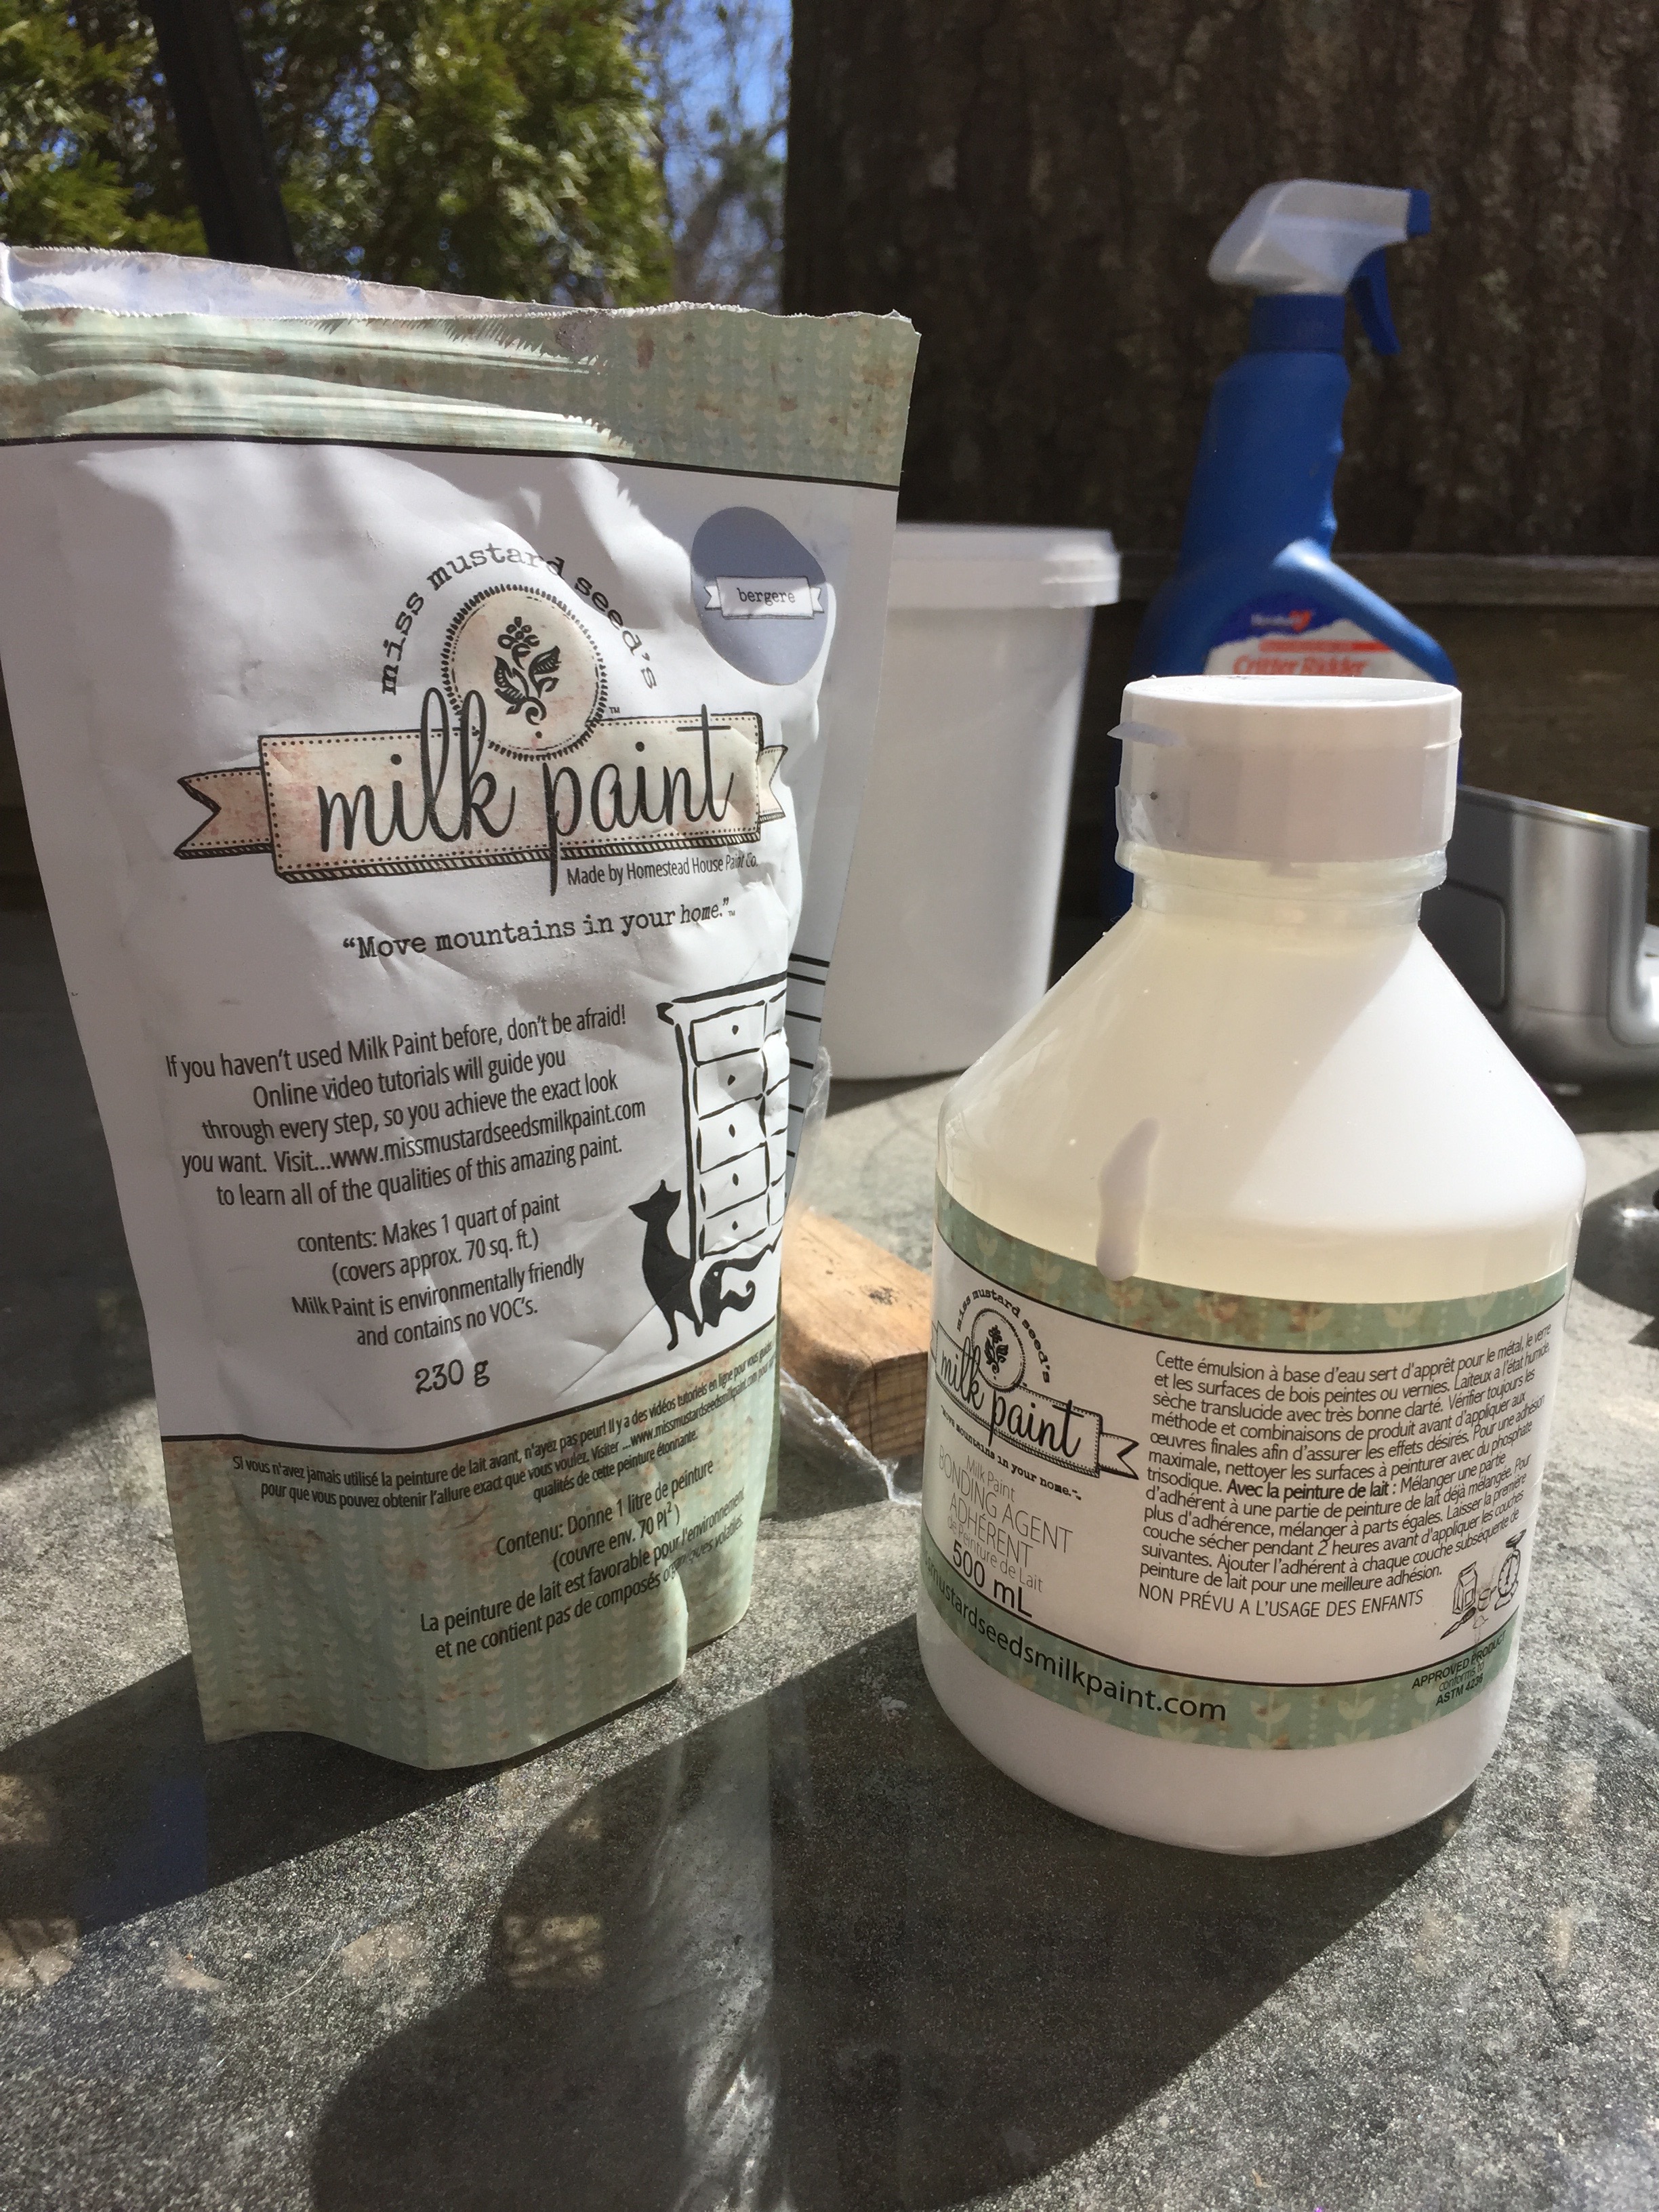
- Pick your paint: I wanted to give it lighter feel, appropriate to an Amagansett beach house, so I spent a lot of time on Pinterest for inspiration. Ultimately, I wanted a two-tone look and so purchased a Lamp White
paint by Fusion for the edge and a new blue-grey shade from Miss Mustard Seed milk paint called Bergere
which actually comes in a powder. As dresser had been varnished, I also purchased a Bonding Agent
from Miss Mustard Seed to help the paint hold onto the wood. And while you’re picking paint, pick out a few paint brushes and find some plastic jugs for paint mixing.
- Prep for sanding: The difference grades of sandpaper indicate different strengths. It’s good to start with a lighter one and work your weigh to the tougher one.

- Prep for mess: Wear clothes you don’t mind getting covered in sawdust for sanding. Get drop cloths and rags for painting.
The dresser is on the deck. Now what?
Step 1:
If there is a back to the dresser, remove it. Remove the drawers. Remove any knobs or hinges.
Step 2:
Set up the sander. Plug it in via an extension chord. Tie a knot with the ends of the plugs so that if you pull on the sander, it doesn’t separate from the extension chord.
Apply elbow grease. Tons of it. Potentially for hours.
And when you think you’re done, it will look like this:
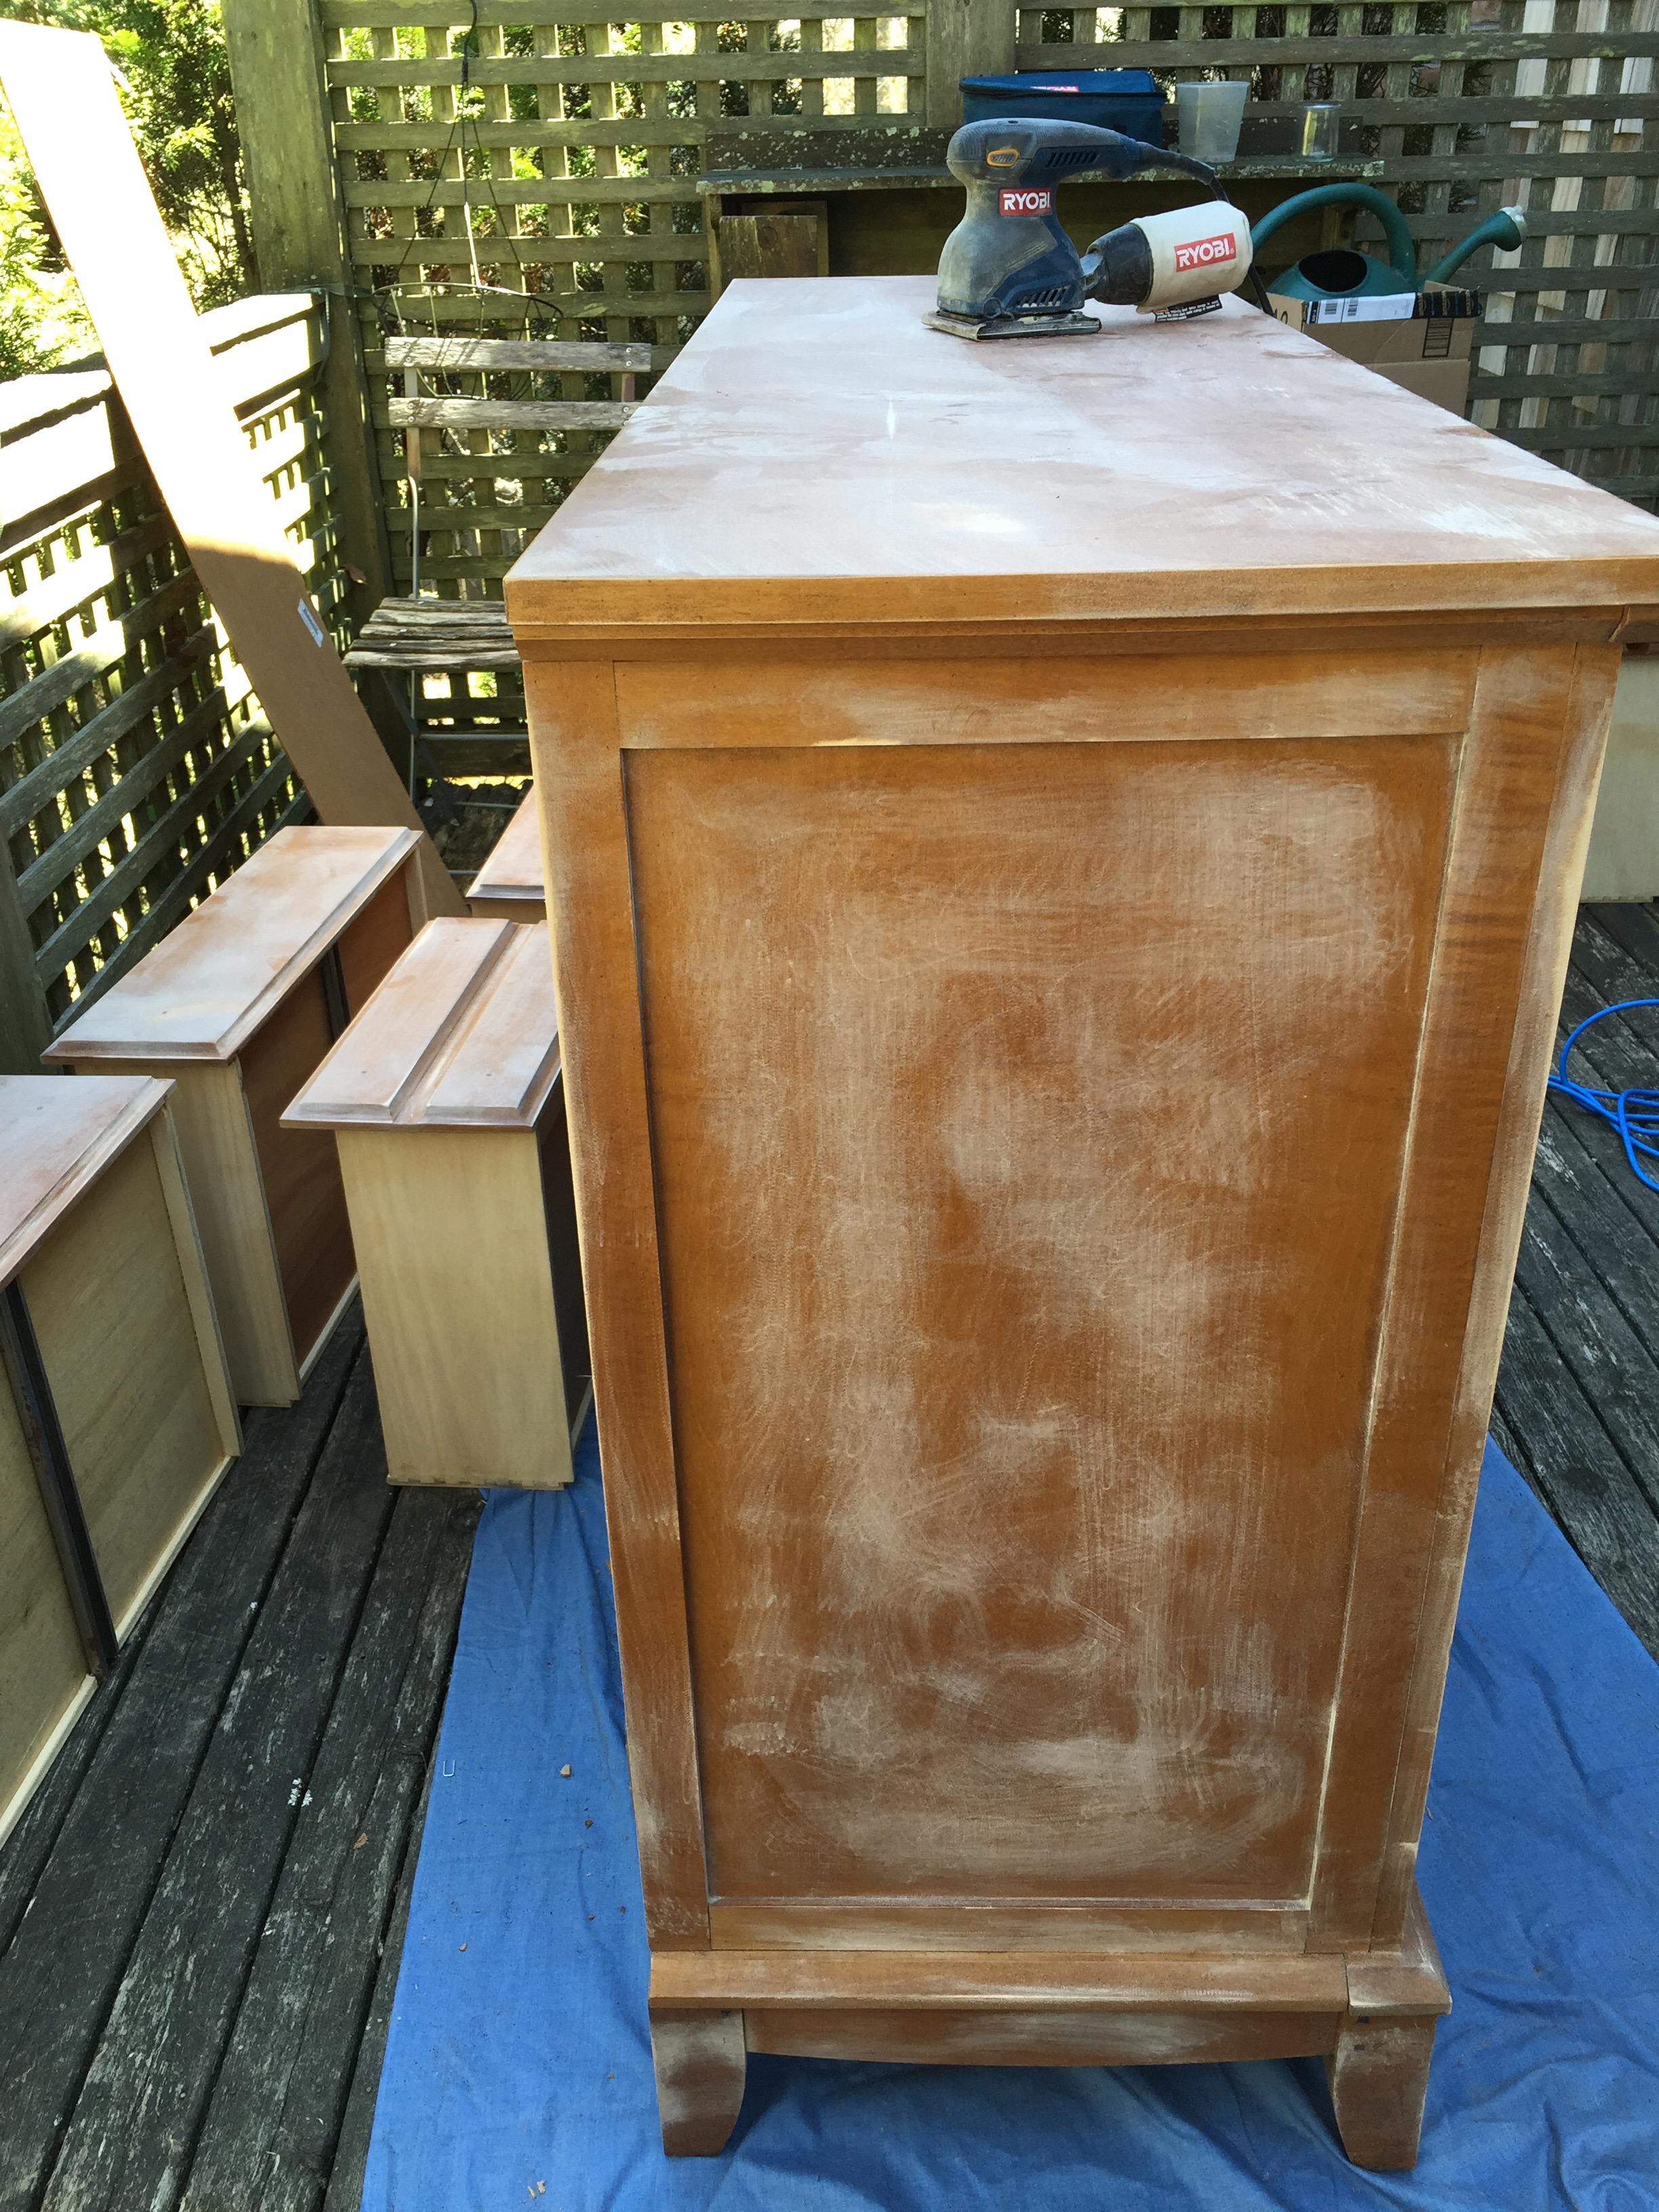
You’re not done. Keep sanding. This is a good time to switch to a tougher sandpaper. I started with a P60 and switched it up to a P30. The lower the number, the fewer grains of sand there are per inch, which means it is rougher.
When you JUST CAN’T SAND ANYMORE it will probably, finally look close to this:
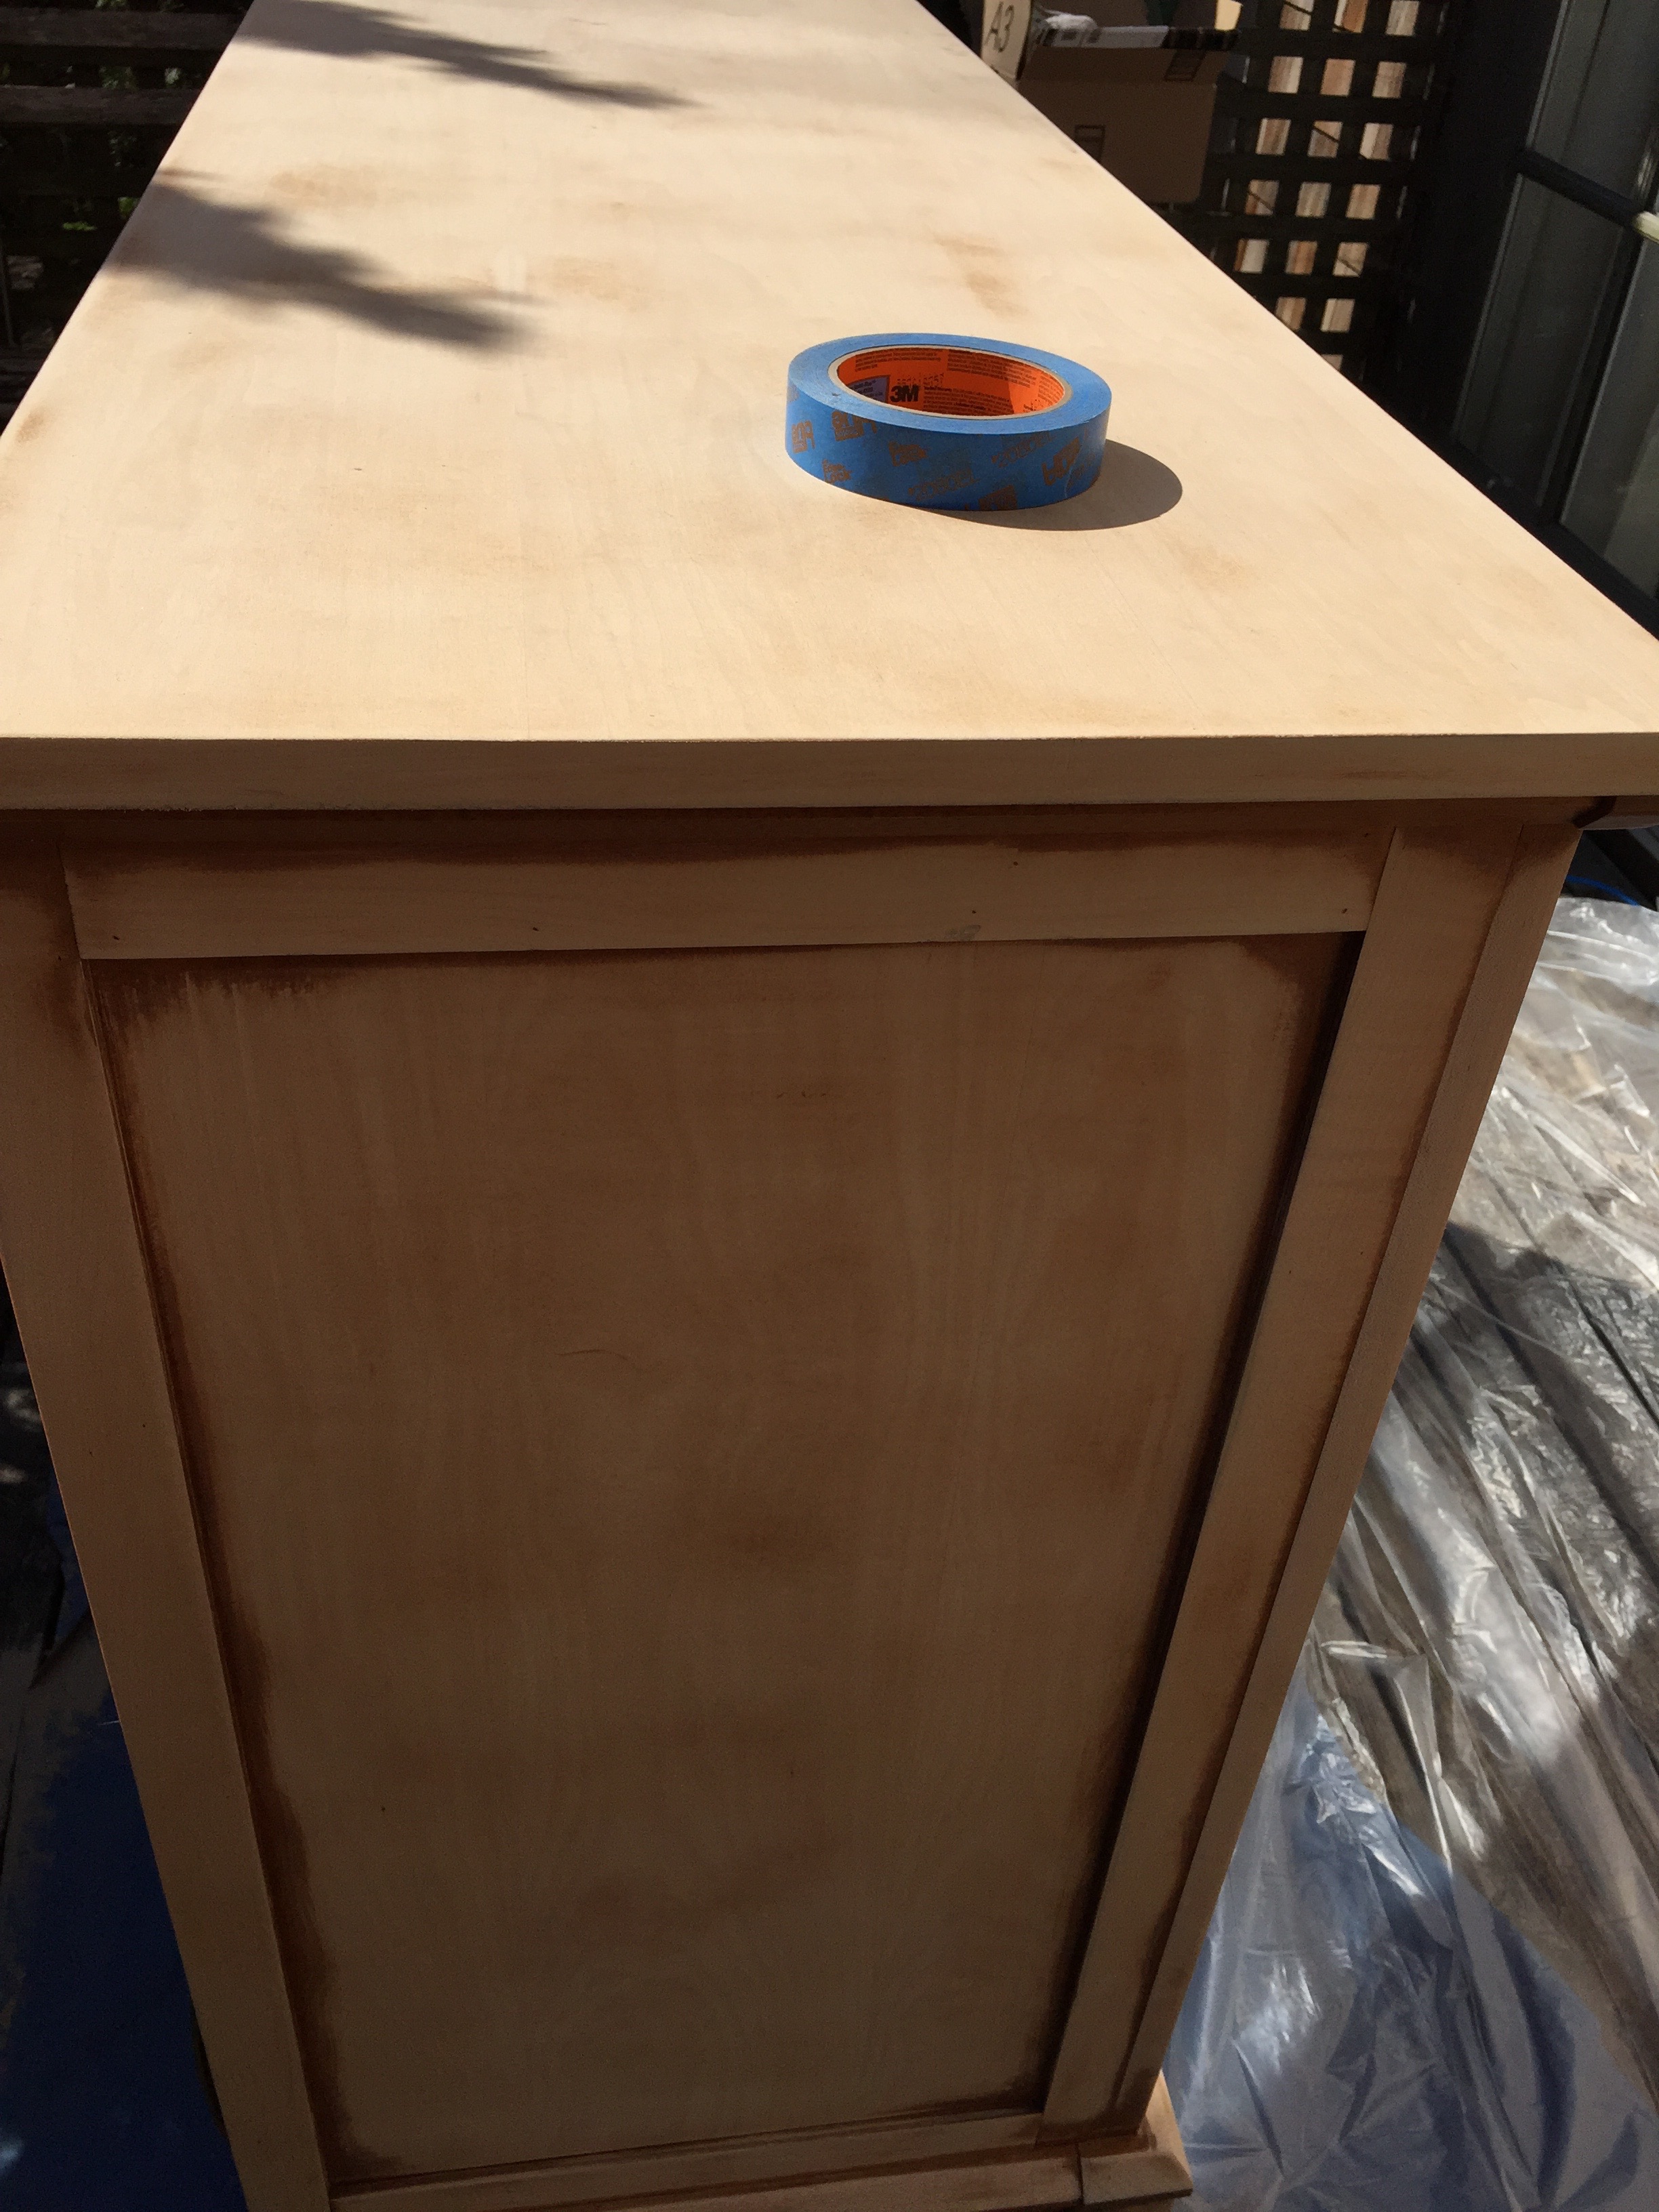
Have a rest. Take the night off. Tomorrow it’s time to paint.
Step 3:
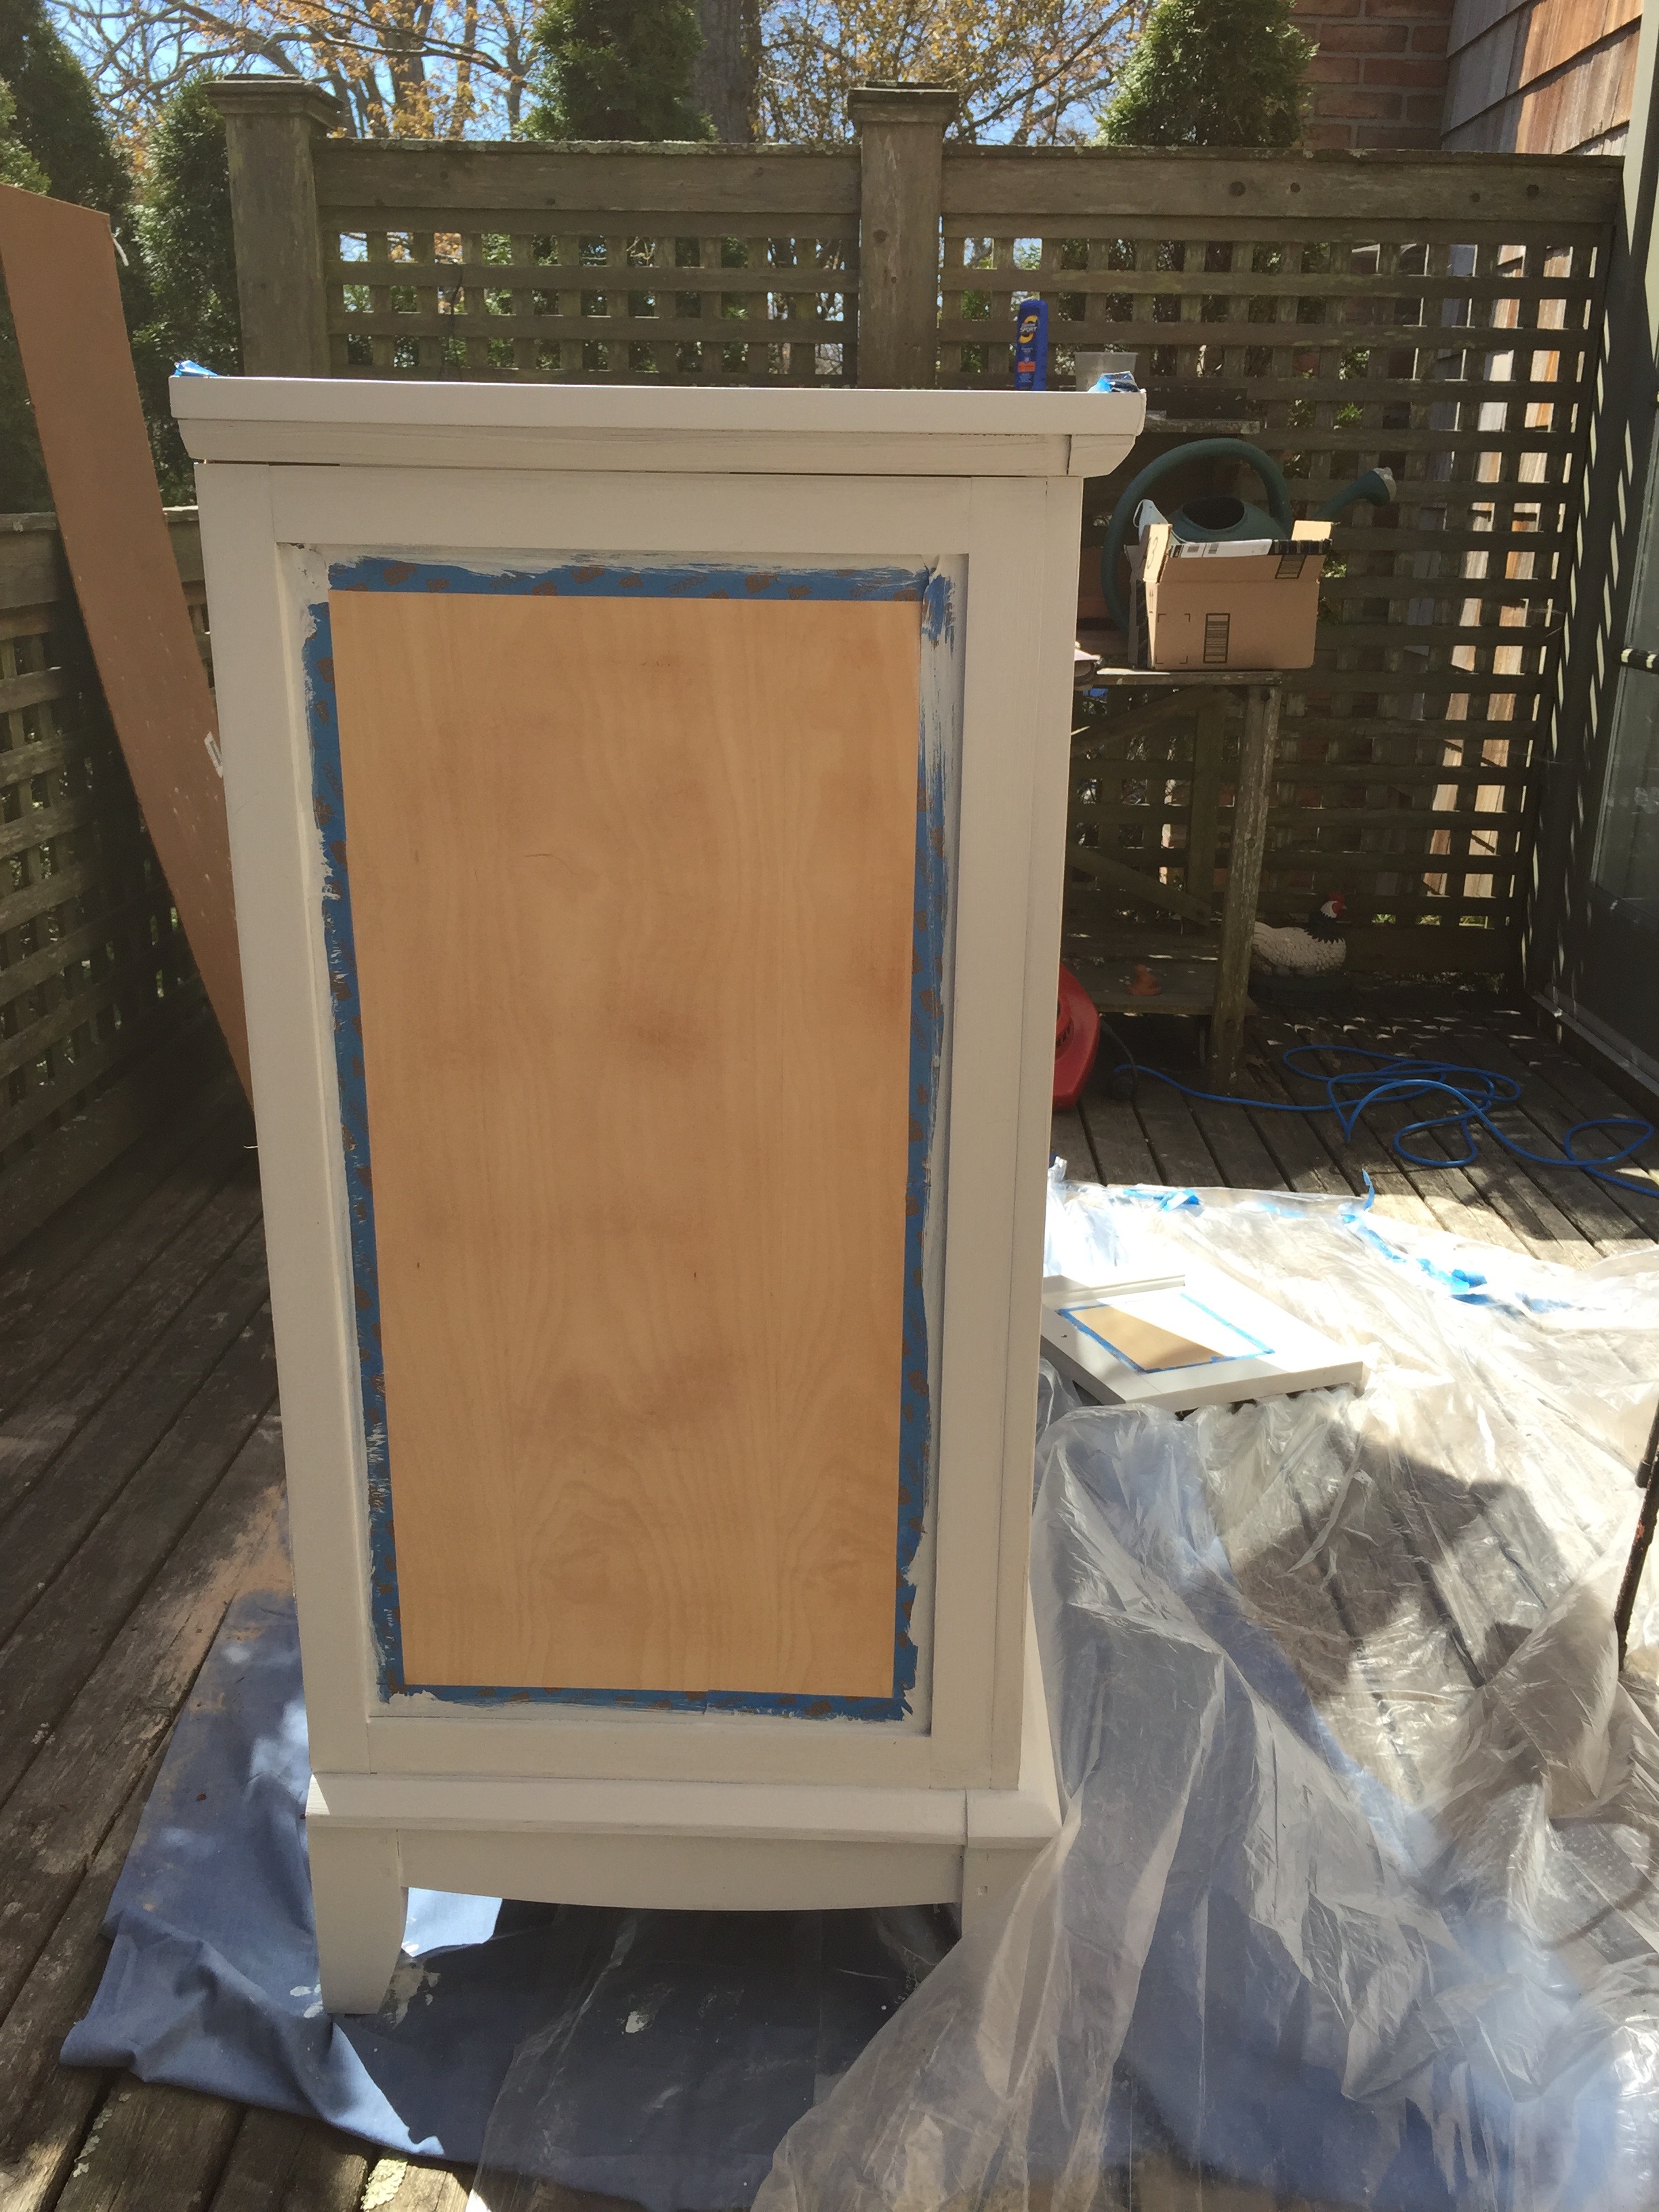
We started with the coats that would be white as it was noted as having a longer drying time and taped up the dresser as needed for clean lines. The Fusion paint worked really nicely and was not too drippy.
Next we mixed the milk paint powder with water and the bonding agent and applied it to the wood. The instructions say one part water to one part powder, and I stuck with this however there is flexibility pending how you want to apply the paint. Given then there were still (despite gallant sanding efforts!) bits of varnish, I wanted to apply the thicker paint with the help of the bonding agent to cover it up. The milk paint, while slightly stinky and harder to apply, creates a rich texture and color.
For the future, I learned that the antiqued effect you often see used with milk paint works really well when there is a based color underneath and you want to play with the old color coming through to the new.
It was a sunny warm day and so the paint dried super fast. We did two coats in total for each color and spent a bit of time touching up a few places.
Step 4:
Once it’s dry, you can bring it inside and put it back together. I do still need to get knobs… and put my clothes back in it, but I am really excited with how it looks already.
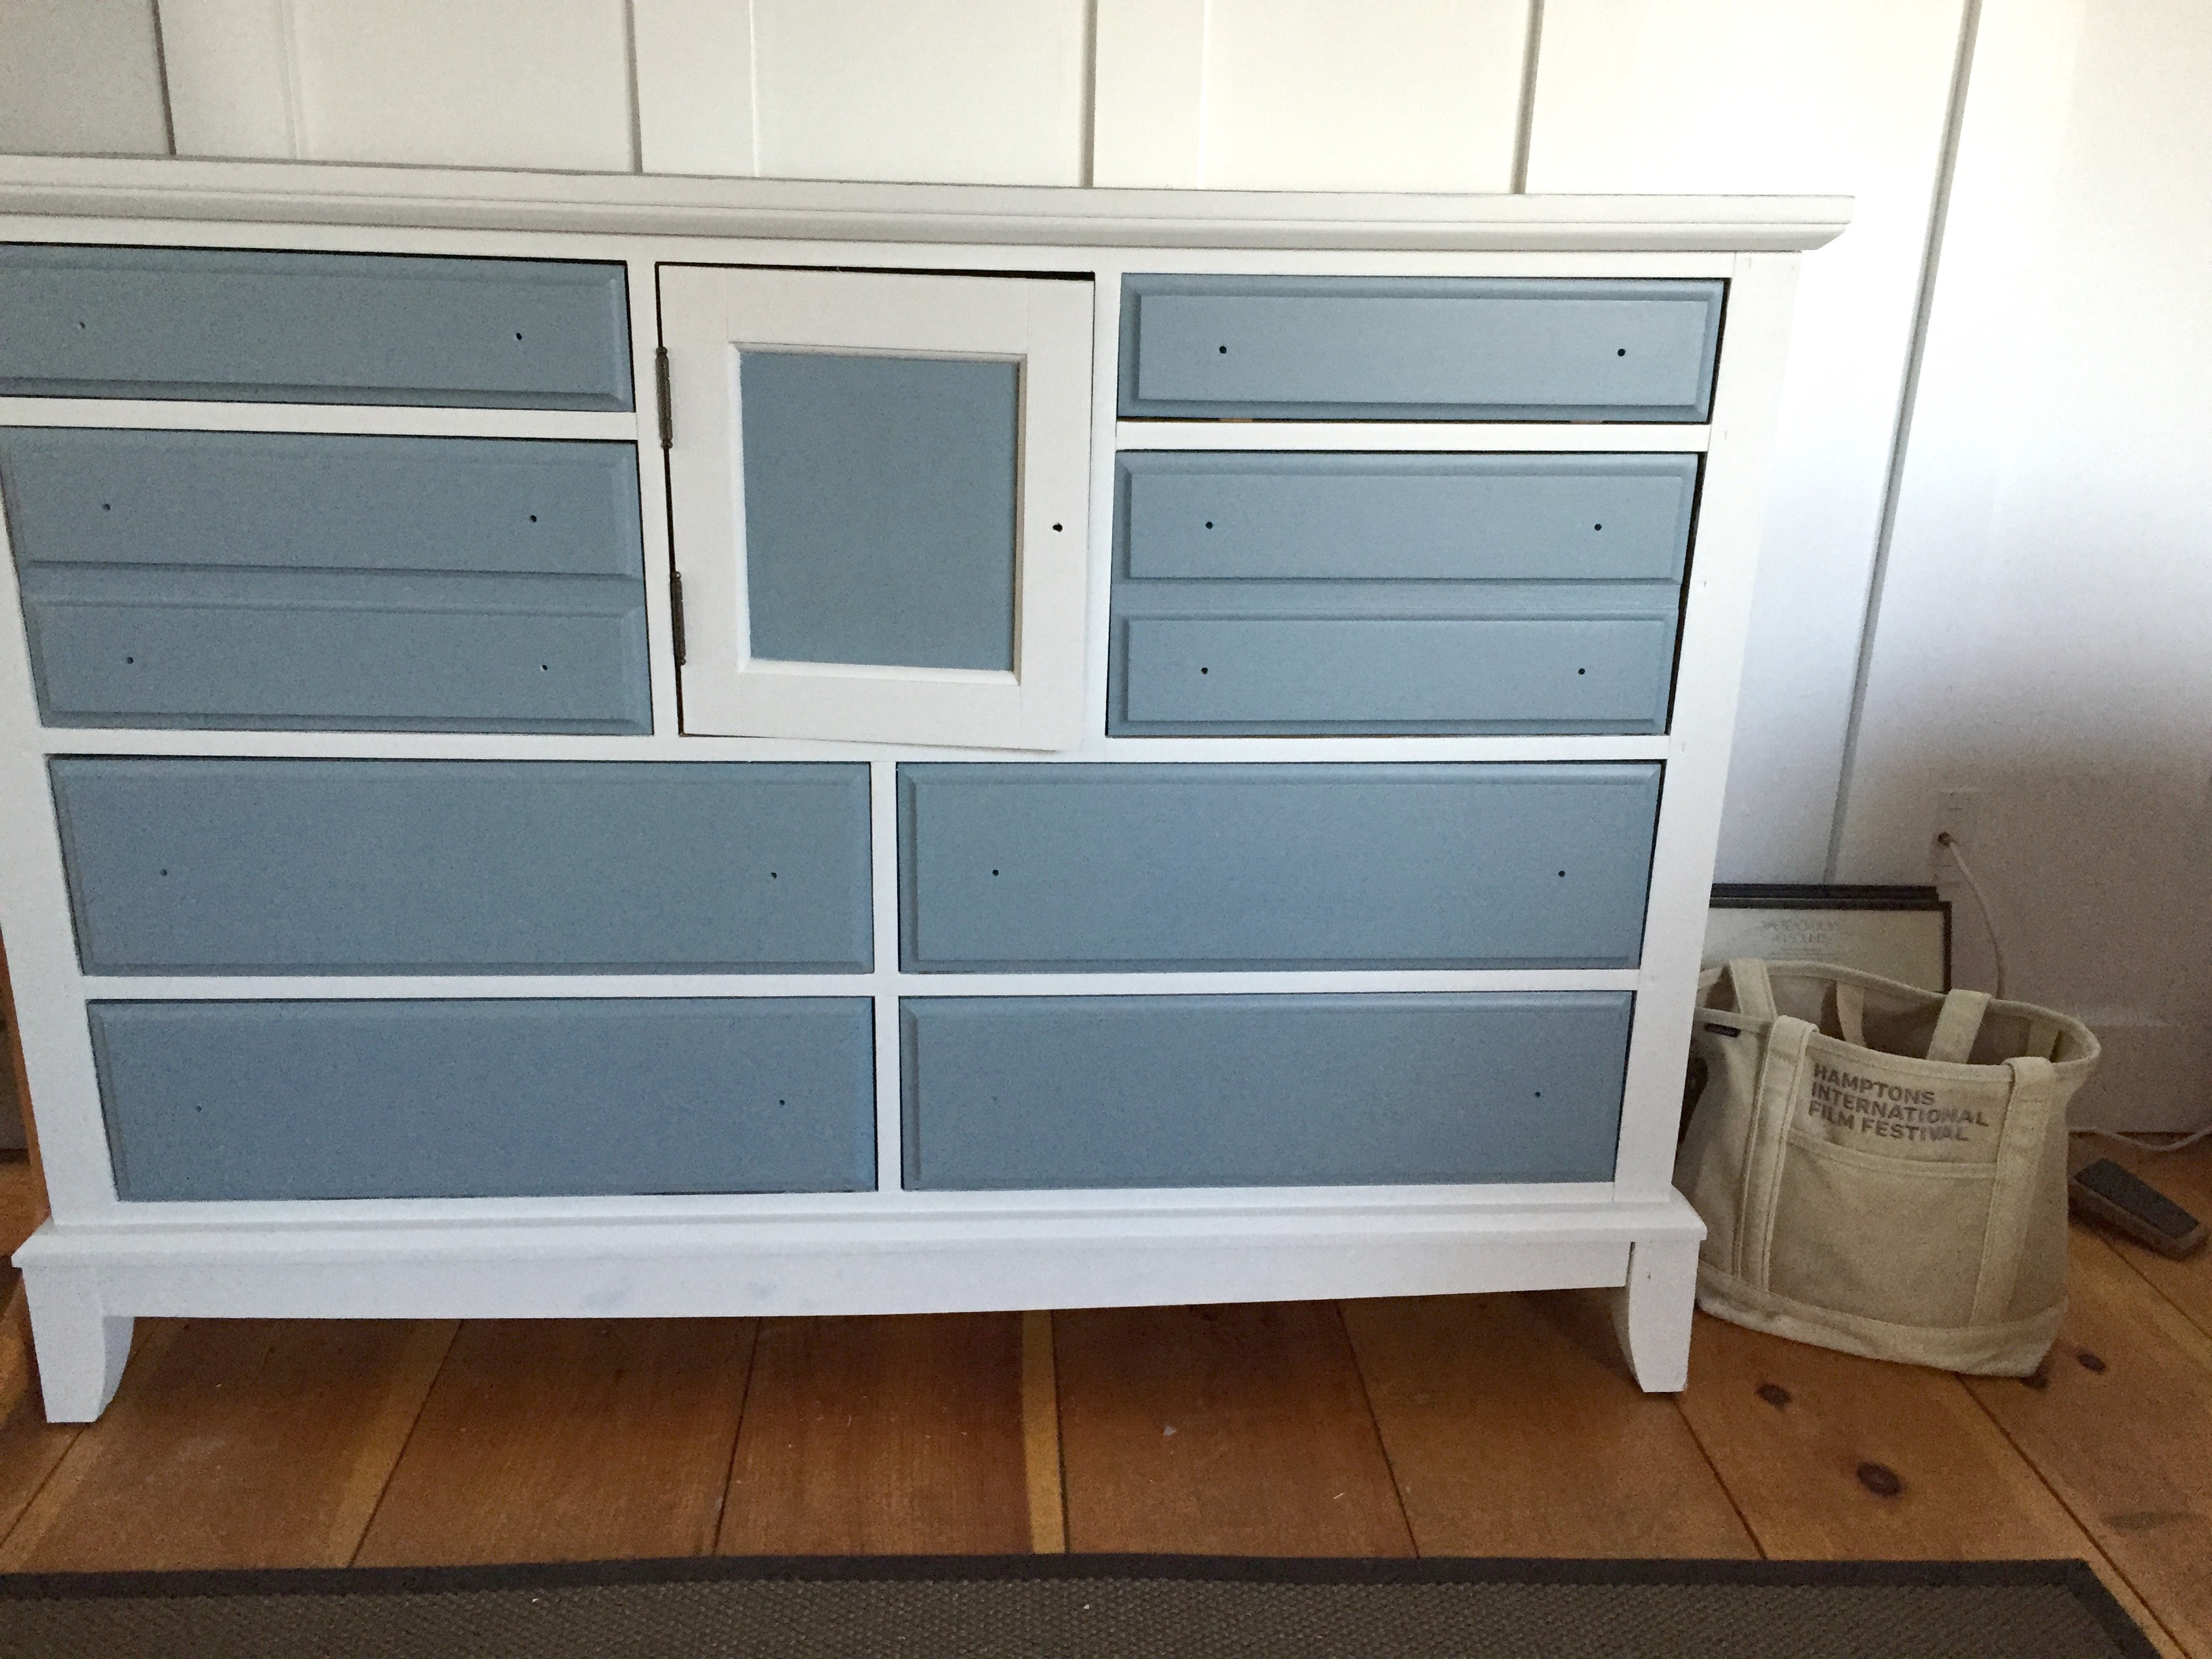
Beach-y dresser sans knobs
It’s amazing how much that seemingly giant dresser disappears into the room now.
This project was not without its hard labor, but it was a “labor of love” and very doable. Photos with knobs and of the two mini dresser makeovers of the set to come.
…
As promised, here is a photo of the dresser finished with seashell knobs.