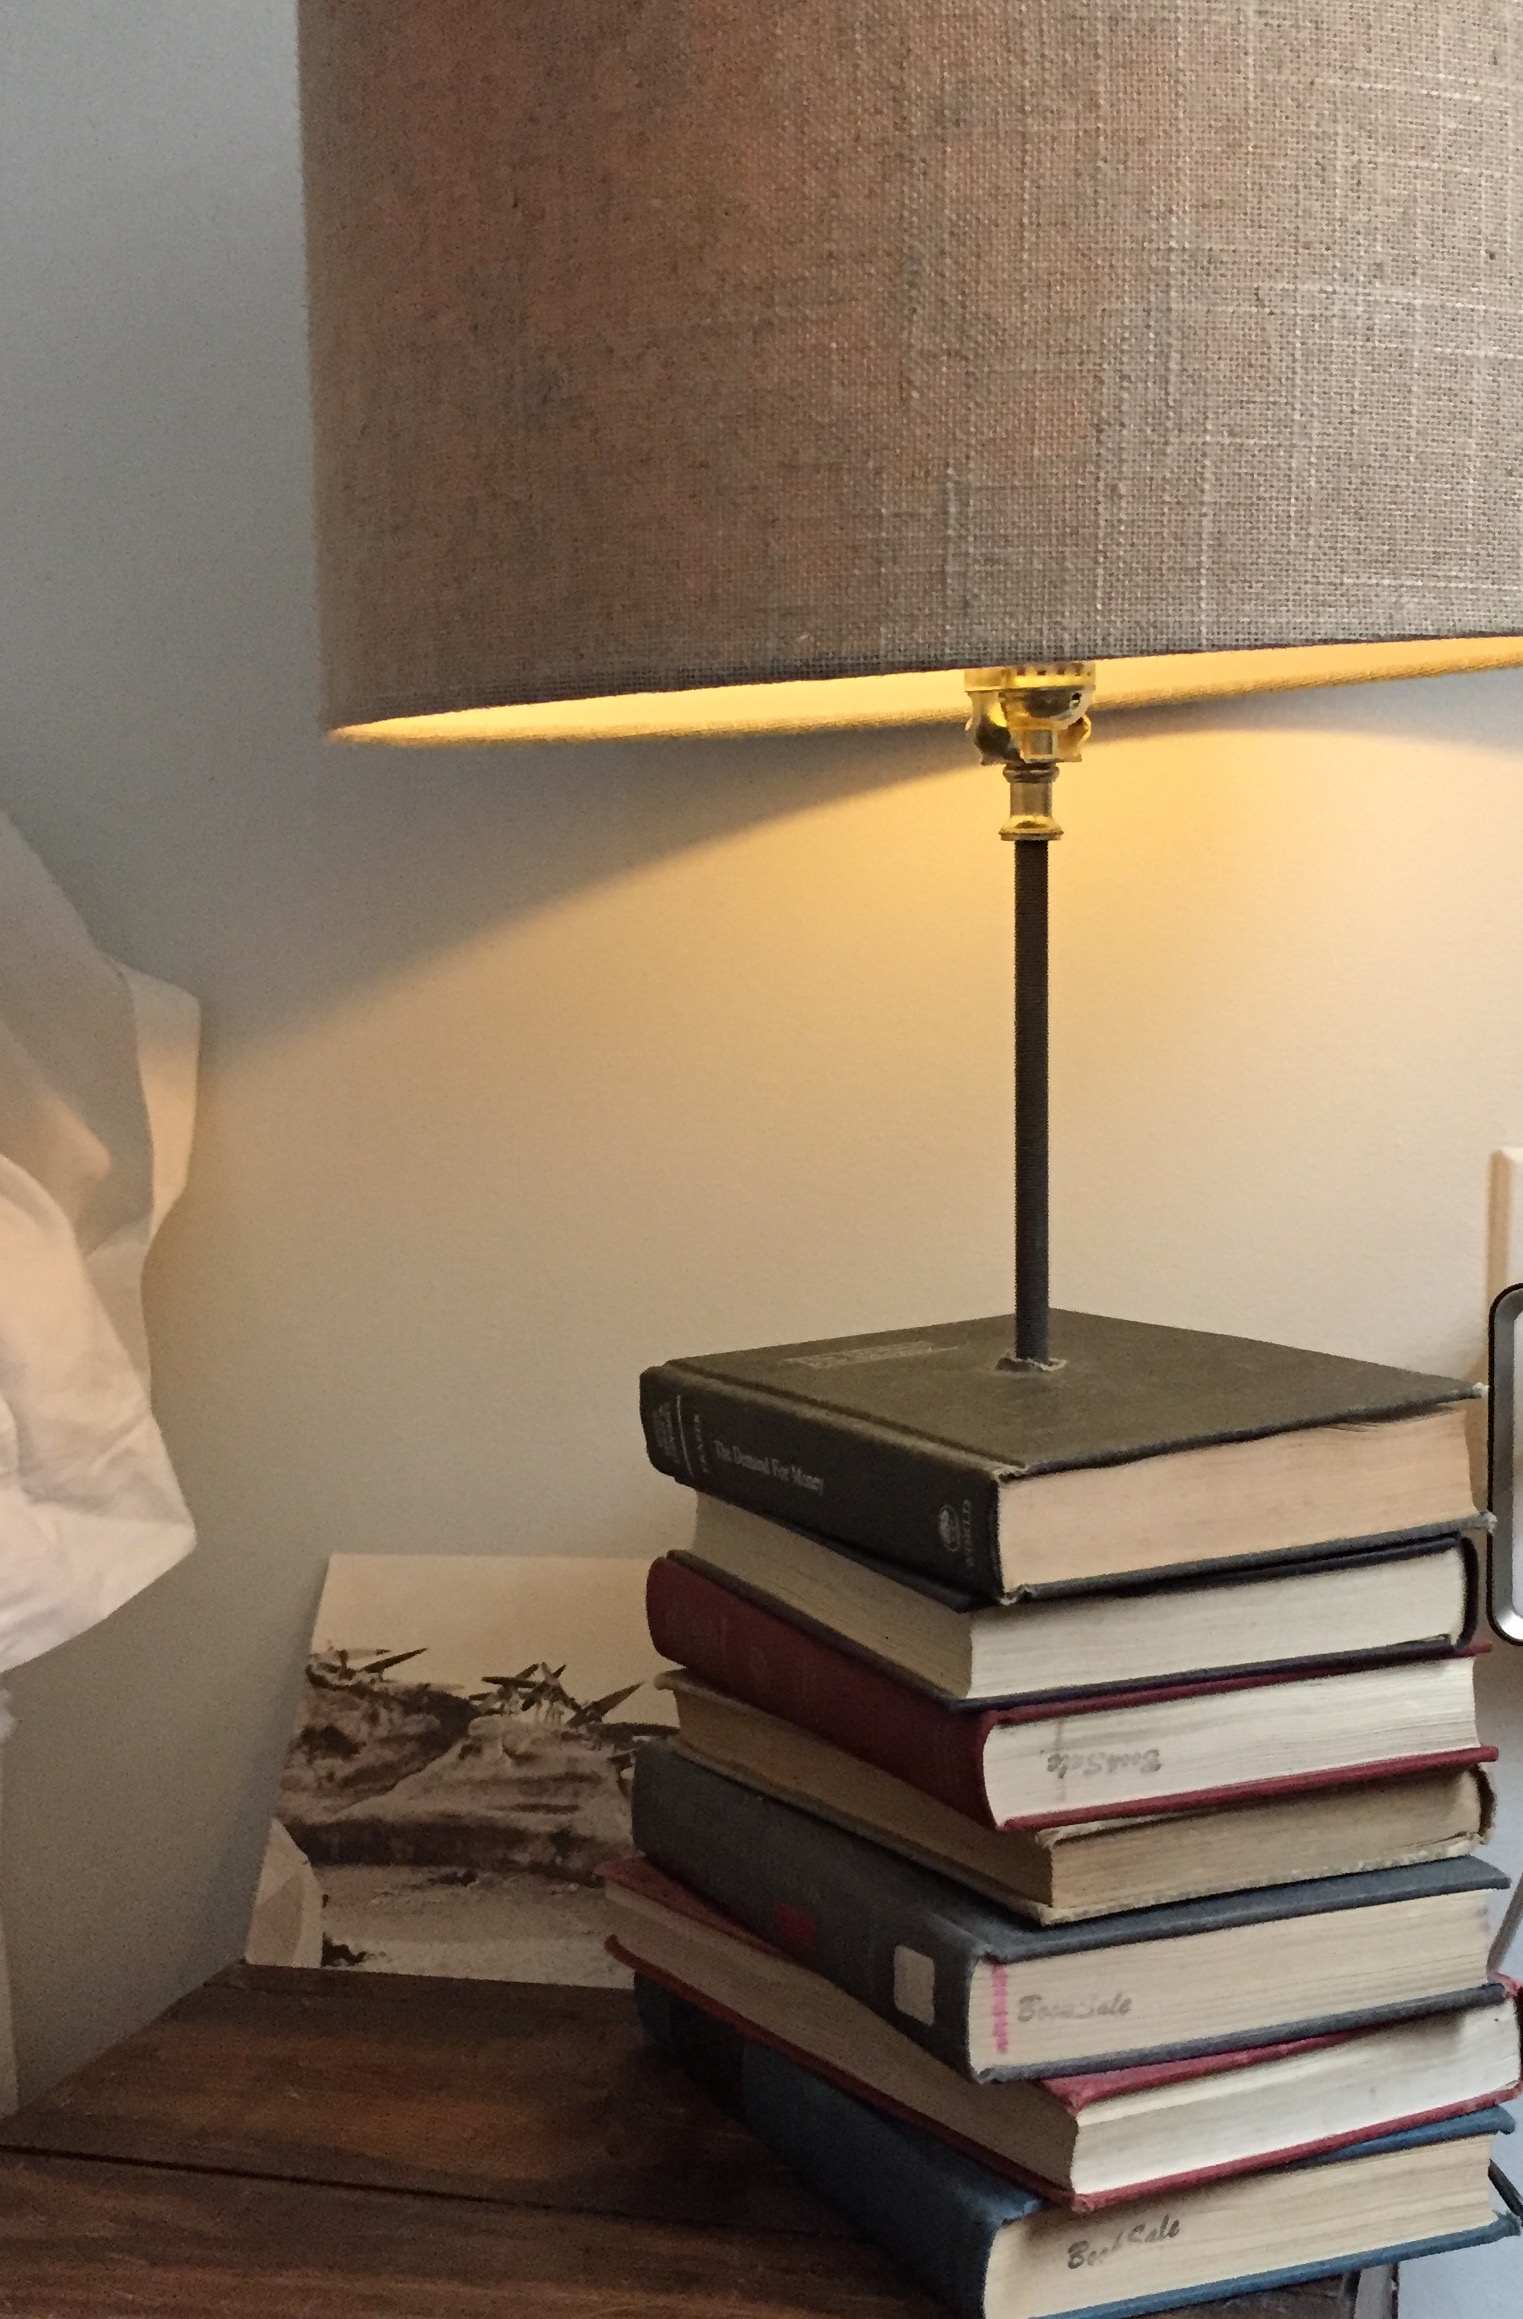
There is something therapeutic about being surrounded by old books — their cloth bindings, muted colors and aging paper fumbled through by strangers and kin alike. And so, I was inspired to have a bookstand lamp by my bedside. A tall stack of economics texts from yesteryear with a metal rod drilled through them holding up a lightbulb is all it took.
How to Get Started
There are several online resources to learn how to make your book lamp a reality. The resource we chose was HGTV. Admittedly, drilling a hole through books did feel a bit wicked, but remember that it’s art and these texts are probably going to spend more time closed than open.
What will you need?
- Old hardcover books, about 8
- Lamp kit
- Lampshade in your preferred style
- Drill
- 1/2″ drill bit
- Razor blade or box cutter
- 1-1/4″ screws
- 2″ screws
- Screwdriver
Step 1
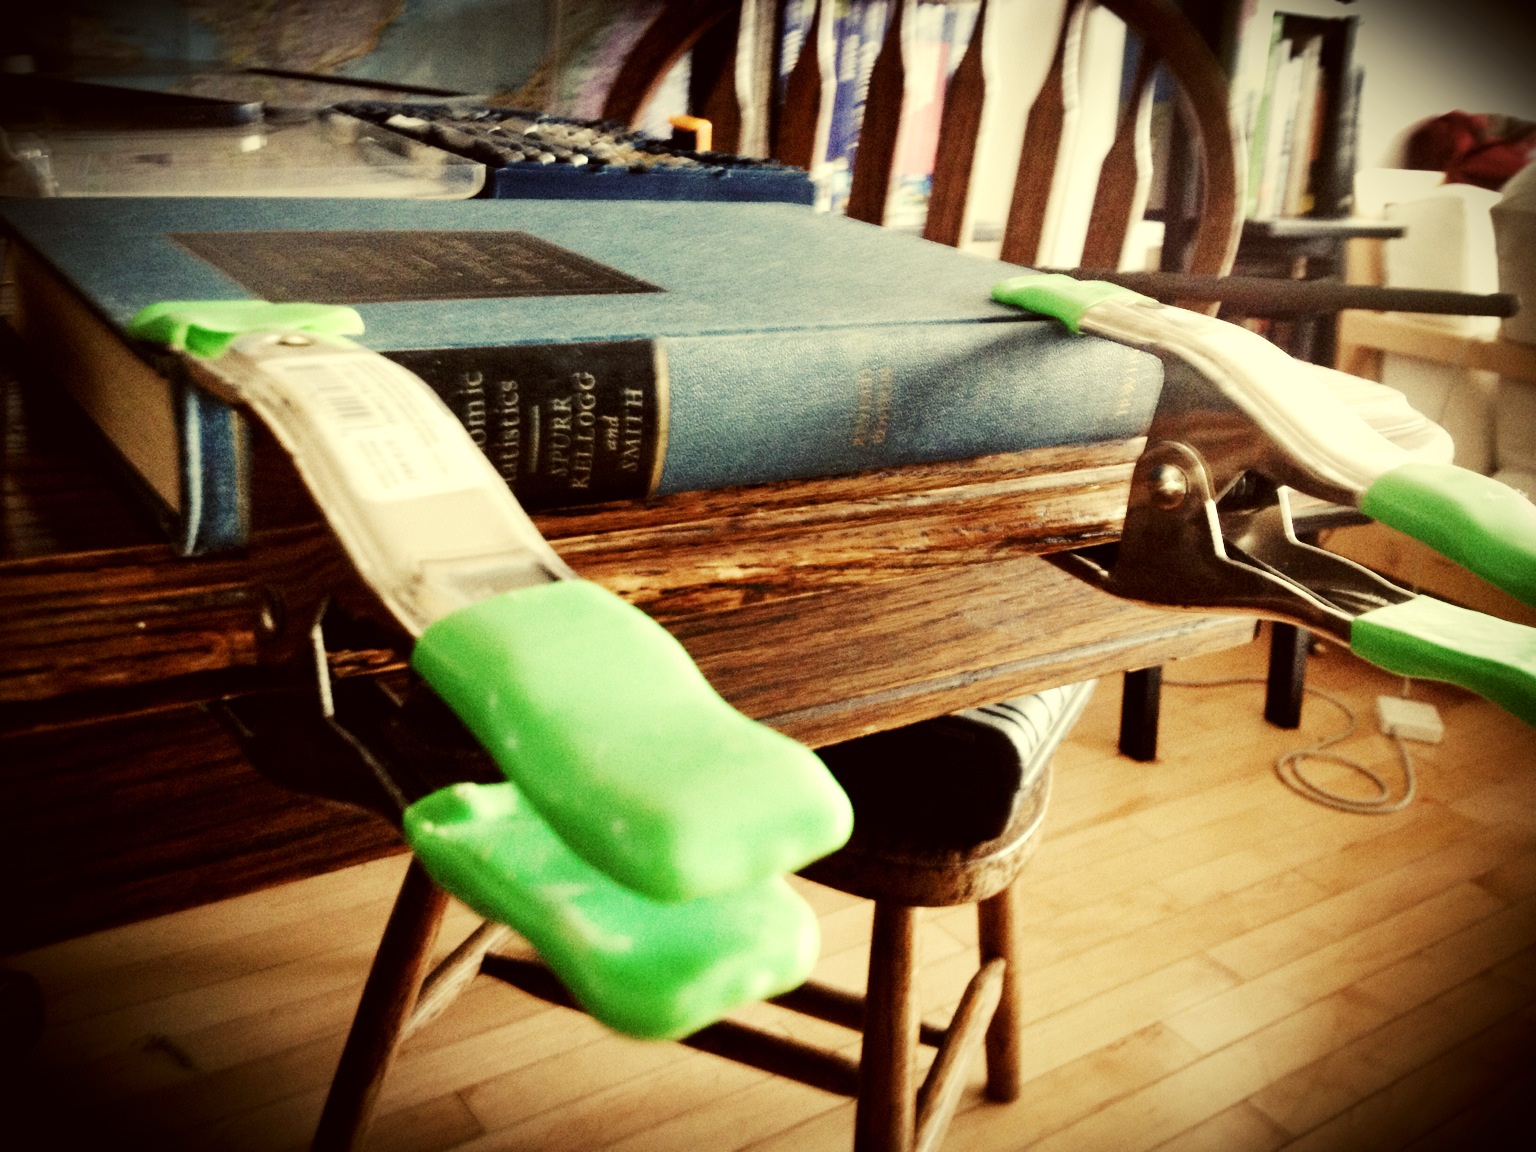
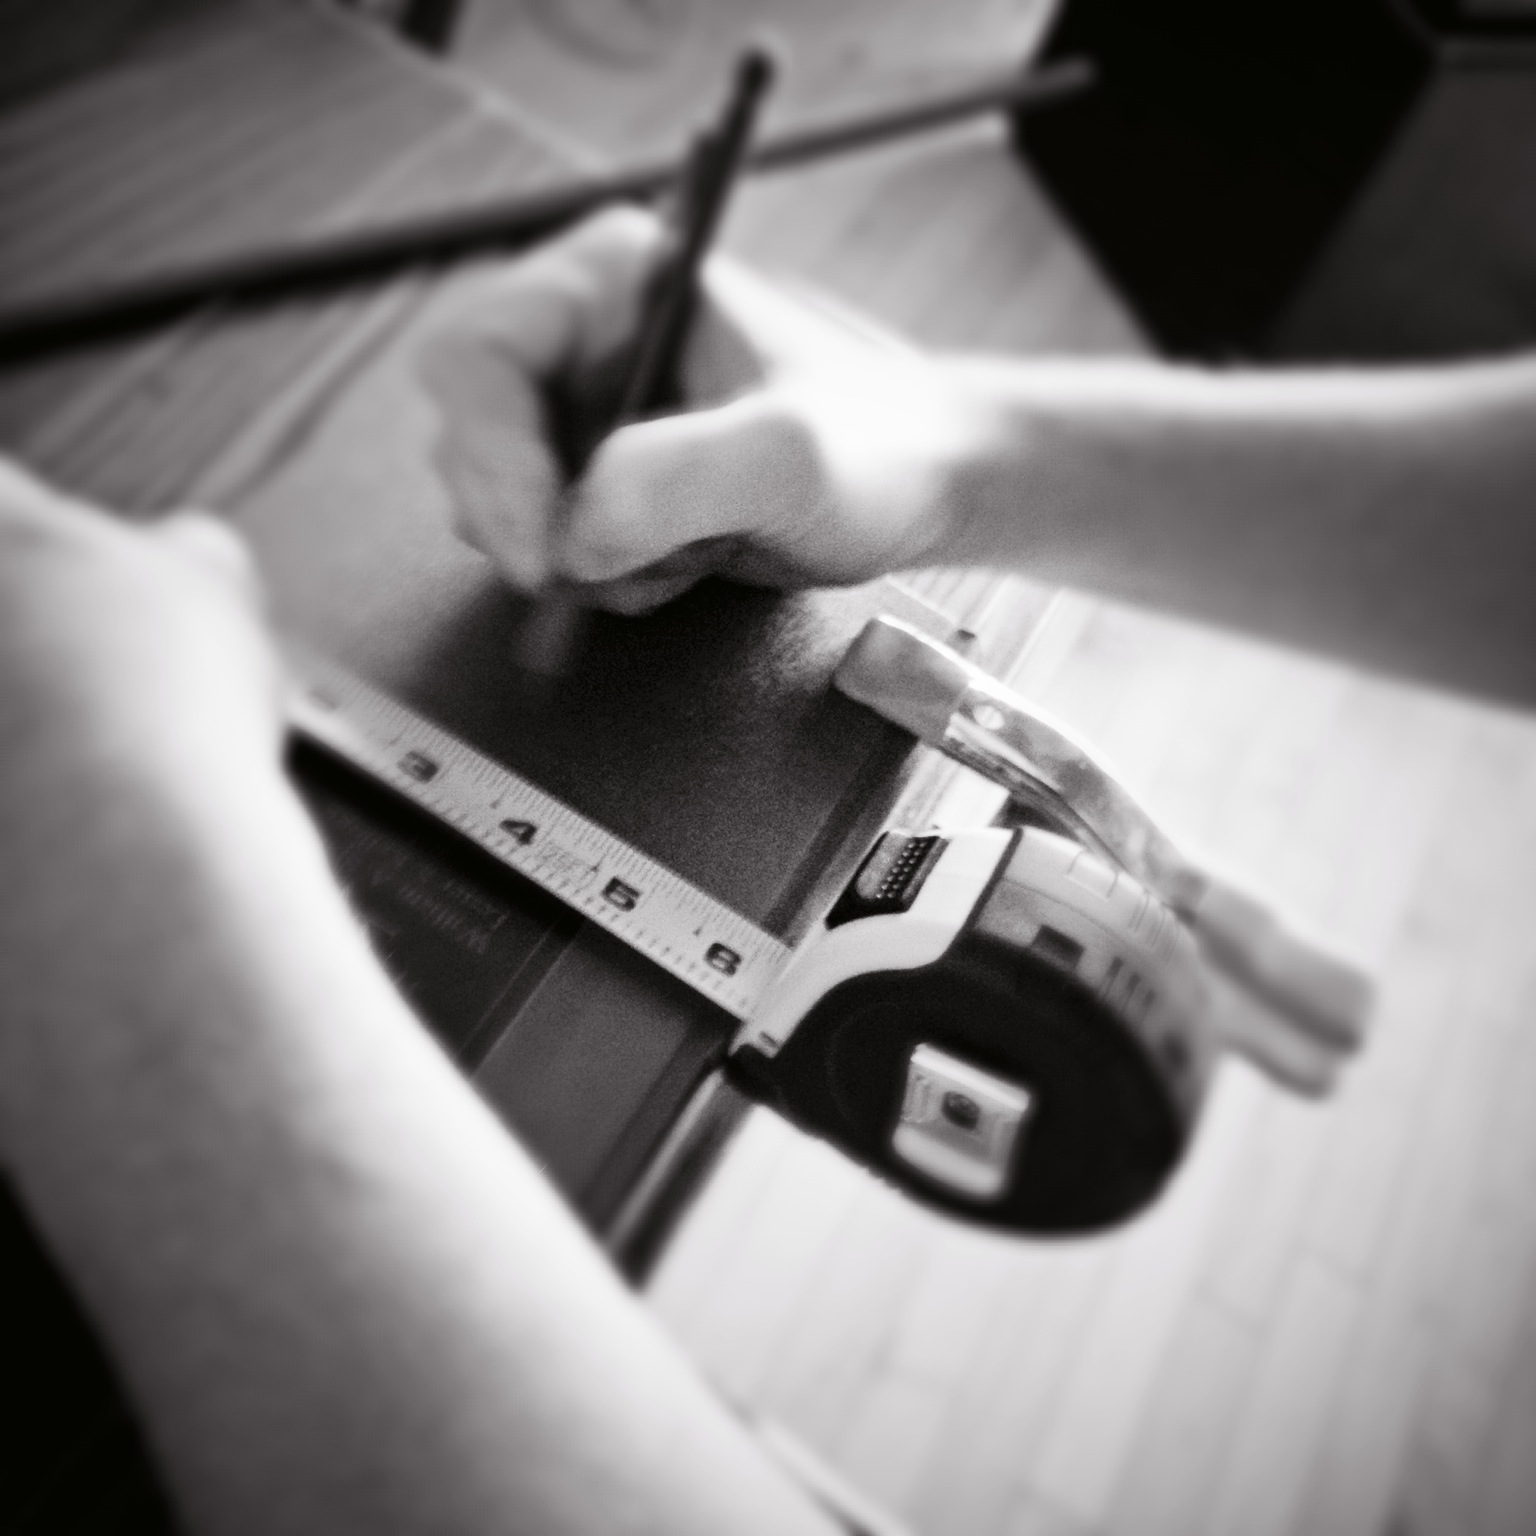
Choose your base or bottom book and clamp it down to a table. Using a half-inch drill bit, drill a hole in the center of the book about halfway down.

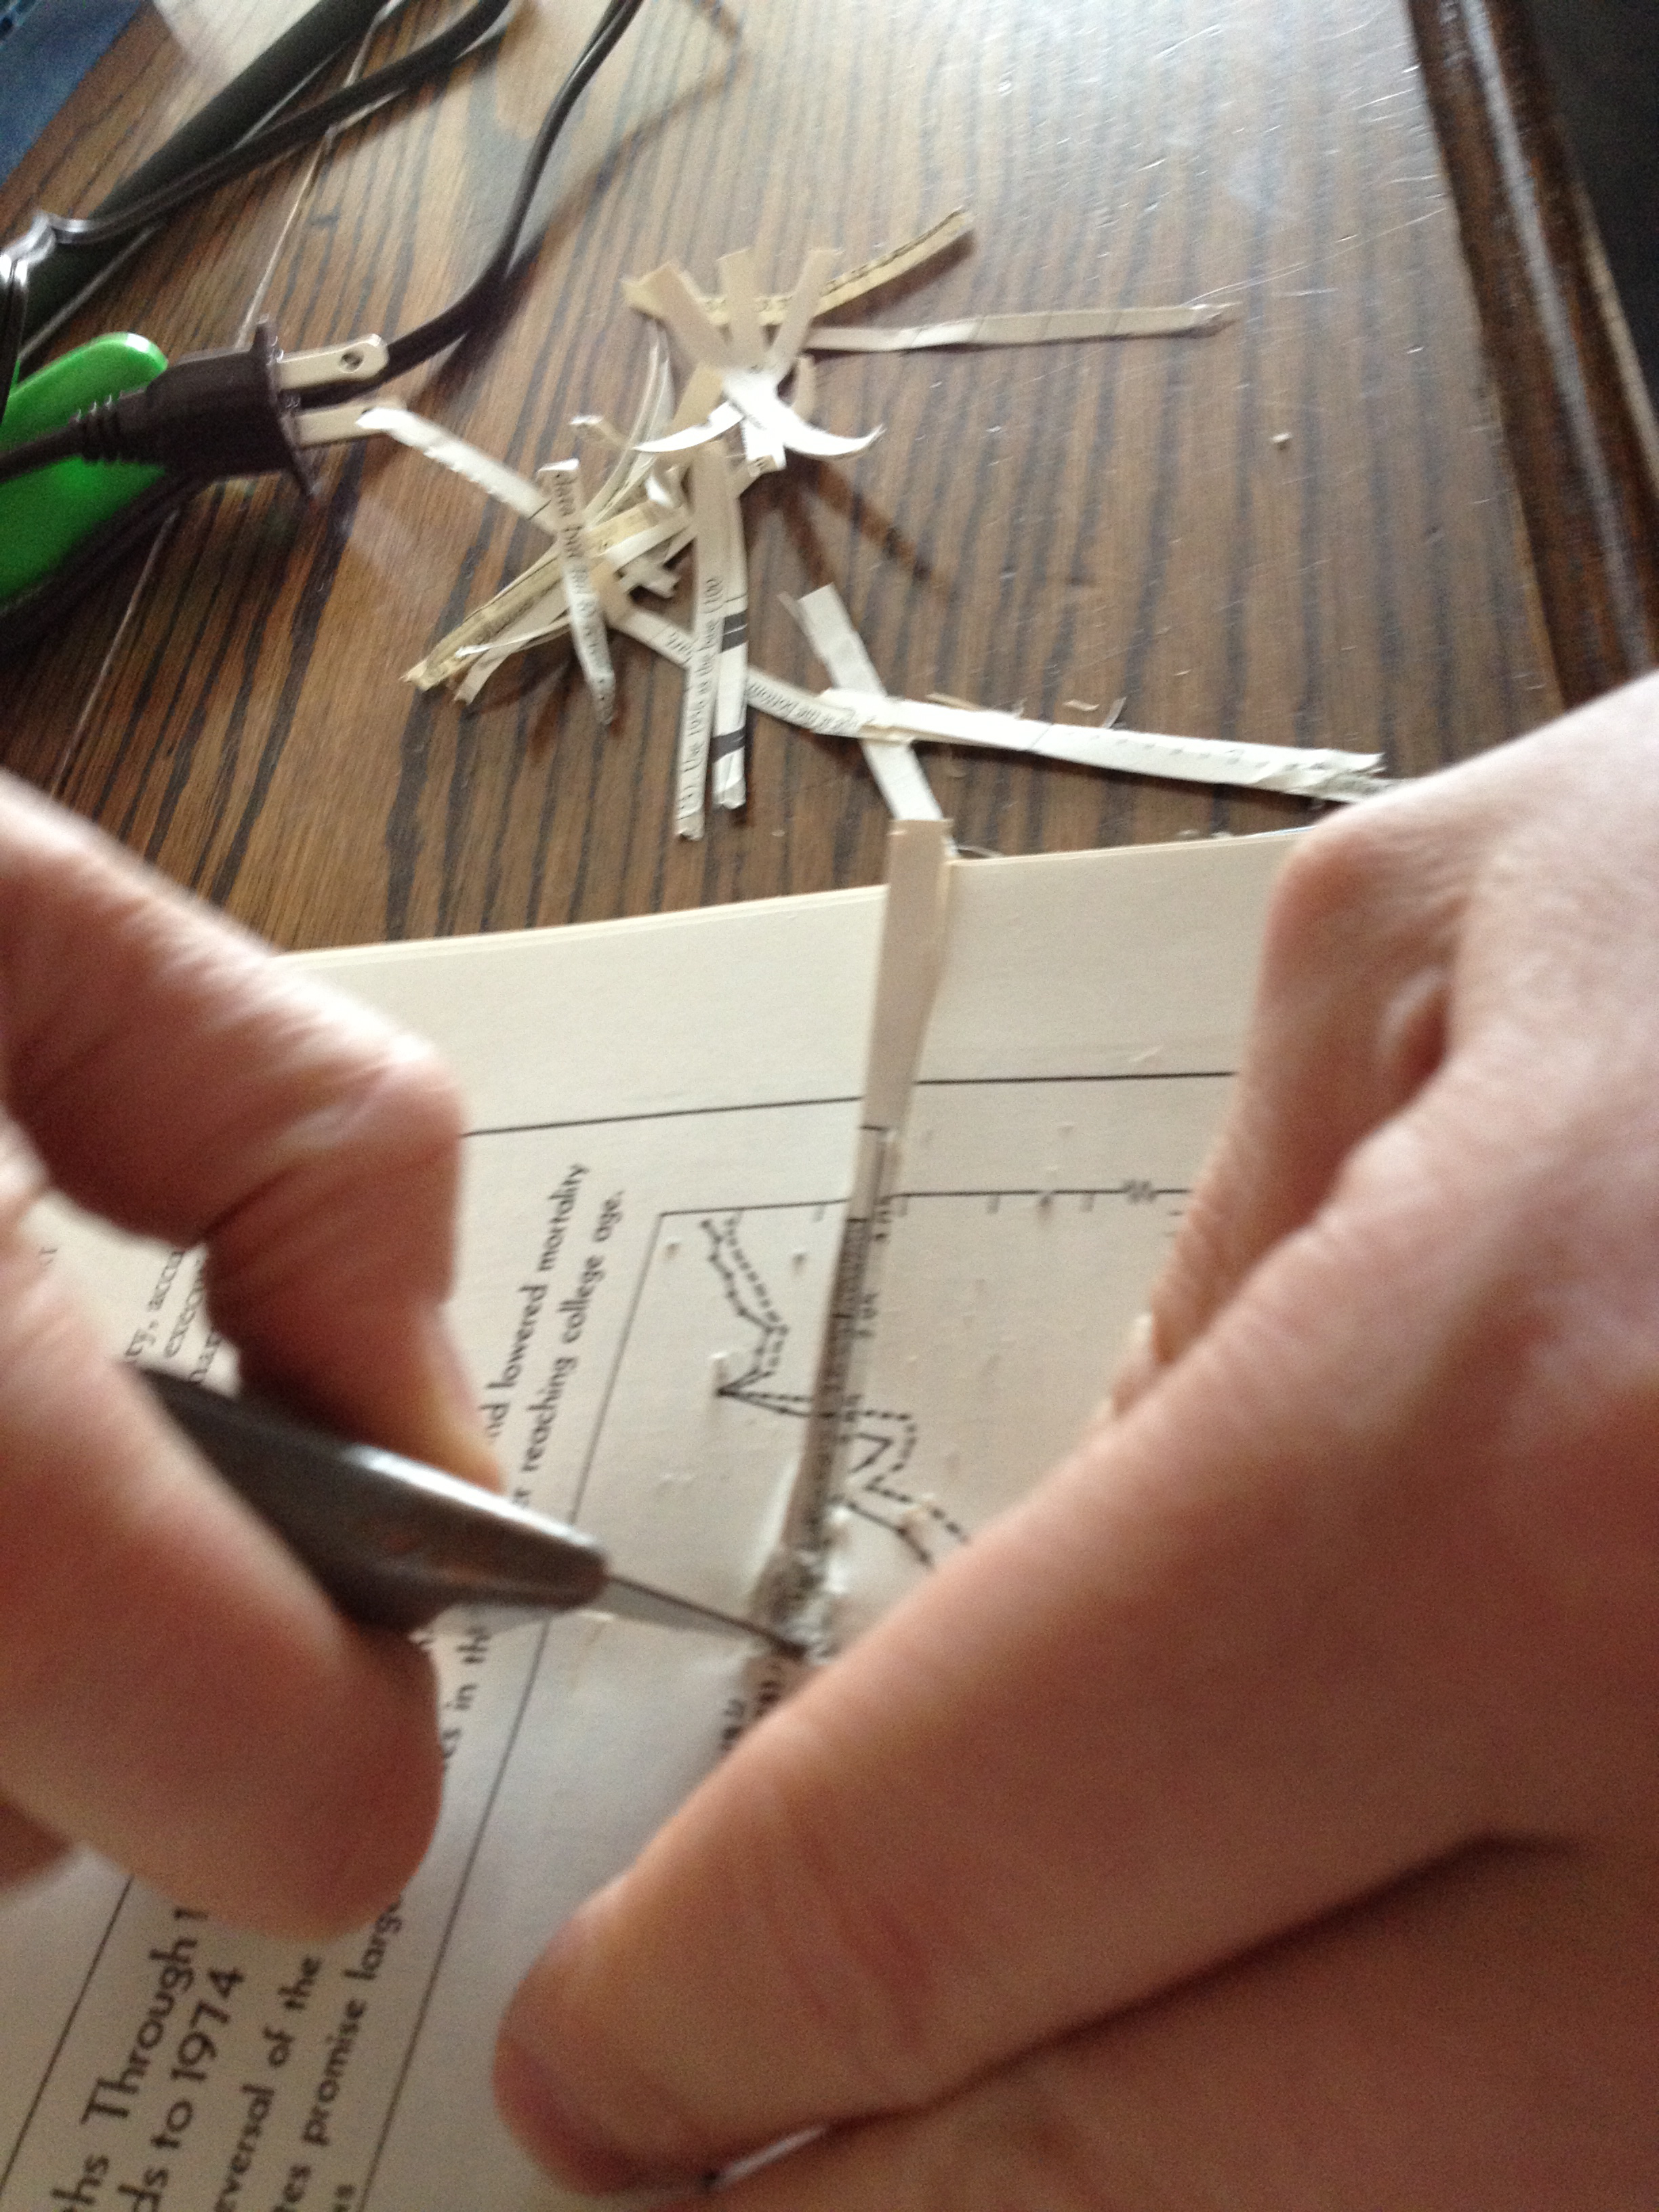
Step 2
Create the path for the electrical cord and rod. Open the base book. Using a razor blade or box cutter, cut a channel where the electrical cord will be placed, matching the width and thickness of the cord.
Step 3
Use the washer and lock nut from the lamp kit to attach the threaded rod to the base book. Close the book and tighten down the top lock nut.
Entering from the bottom, slide the electrical wire through the threaded rod. Leave 1 1/2 to 2 inches of electrical wire at the top of the threaded rod so you can attach the lamp parts. Drill 1 1/4-inch screws to secure the book to itself—you will use about four to six screws—and make sure to avoid the electrical wire.
Step 4
Clamp down and use the half-inch drill bit to drill a hole in the center of each book. Slide the books, one by one, through the threaded rod, drilling four 2-inch screws to secure each book to the book beneath it.
I recommend flipping each book so that the bindings on are on the same side for just every other book as this will help maintain evenness.
Step 5
Assemble the lamp kit parts, according to the manufacturer’s instructions. Attach the lampshade. We went for a burlap style.
Plug it in. Literature is illuminating.